
E1 Orchestration and Database Connection
Note : I created this is a post almost 2 years ago but never published it here. Screenshots are not from the latest Orchestrator Studio but the methodology is the same.
I’ll start this new year with a Technical Post : we had yesterday the first 2018 Technical Task Force webinar; the topic was “Orchestrator and AIS Server”. You can find the presentation here : JDE_E1_Tech_Task_Force-JDE_Orchestrator&AIS_Enhancements
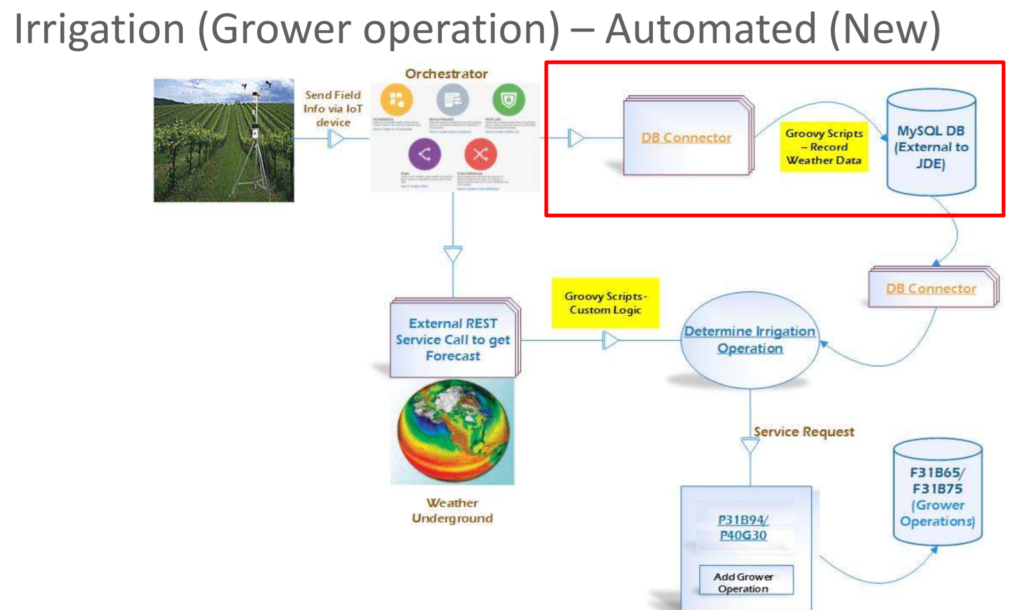
One of the Use Case described yesterday was “Irrigation Automation” with the following scenario:
In this Use Case we have 2 separate orchestrations:
an orchestration is triggered daily by a sensor in the field to store field information in an external database (temperature, precipitation, humidity, moisture, …)
another scheduled orchestration is triggered daily to :
- retrieve weather forecast from an external REST API
- query the field info from the external database
- run some custom script with those data to determine if an irrigation operation is needed
- if we need an irrgation operation, then call a Service Request to add a new Grower operation in JDE
The first Orchestration was a DB Connection Service to insert field info in an external database (red area in the picture); that’s what I’ll describe here.
So, what do you need to insert/read records in a database ?
- Create a DB Connection
- Create a “Connector” Service Request and write some Groovy script to run your SQL statements
- Create an Orchestration to call your service request
Create a DB Connection
A DB Connection itself is a record created in the JDE Soft Coding table; it stores everything you need to connect to your database.
Hopefully you don’t have to go to the Soft Coding application (P954000) to create your record but you can do that directly from E1 Orchestrator Studio:
- Open the Orchestrator Studio
- Select the “Tools” link
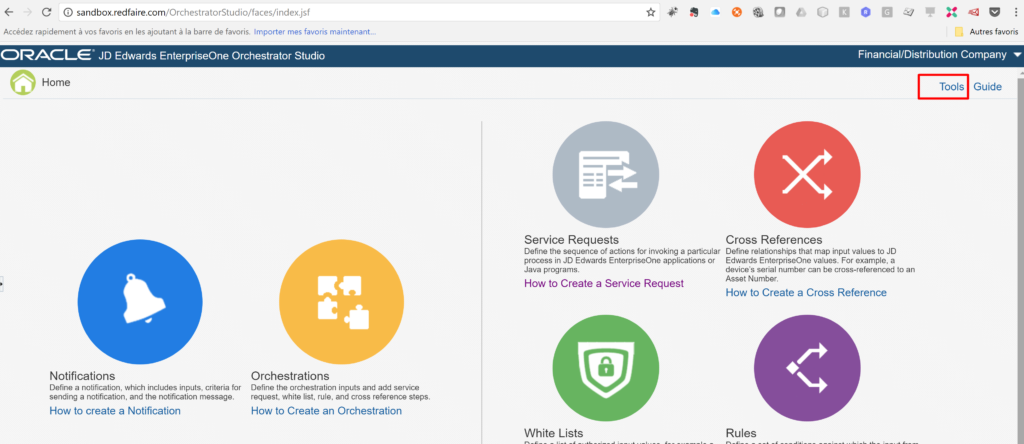
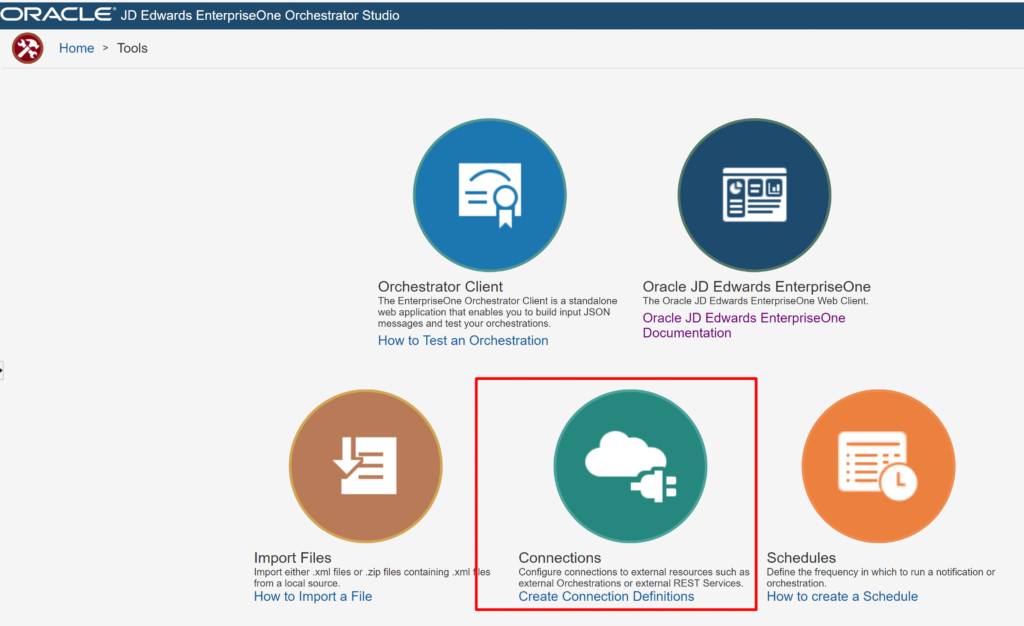
- Select the “Connections” component
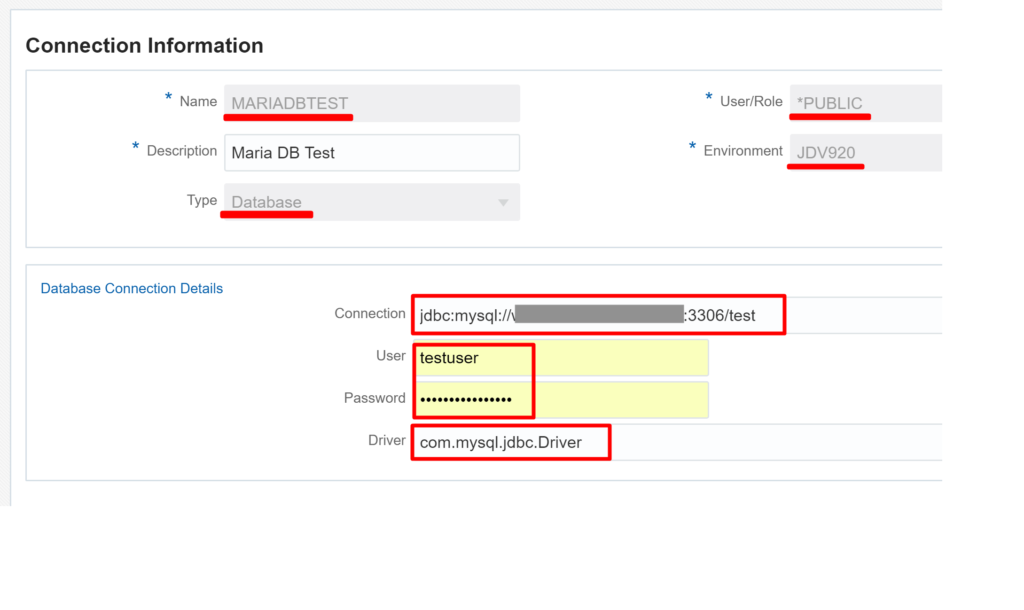
Create a connection with the following fields and save it:
Name
Description
Type : Database (we can also have “Orchestrator” or “External REST”)
User/Role : let’s keep it *PUBLIC
Environment : JDV920
Connection : this is a JDBC connection; define the connection URL according to your database type, server, port …
- jdbc:mysql://<server name>:3306/test
User
Password
Create a Connector Service Request
Now that we have our DB Connection, we can create the “Connector” Service Request":
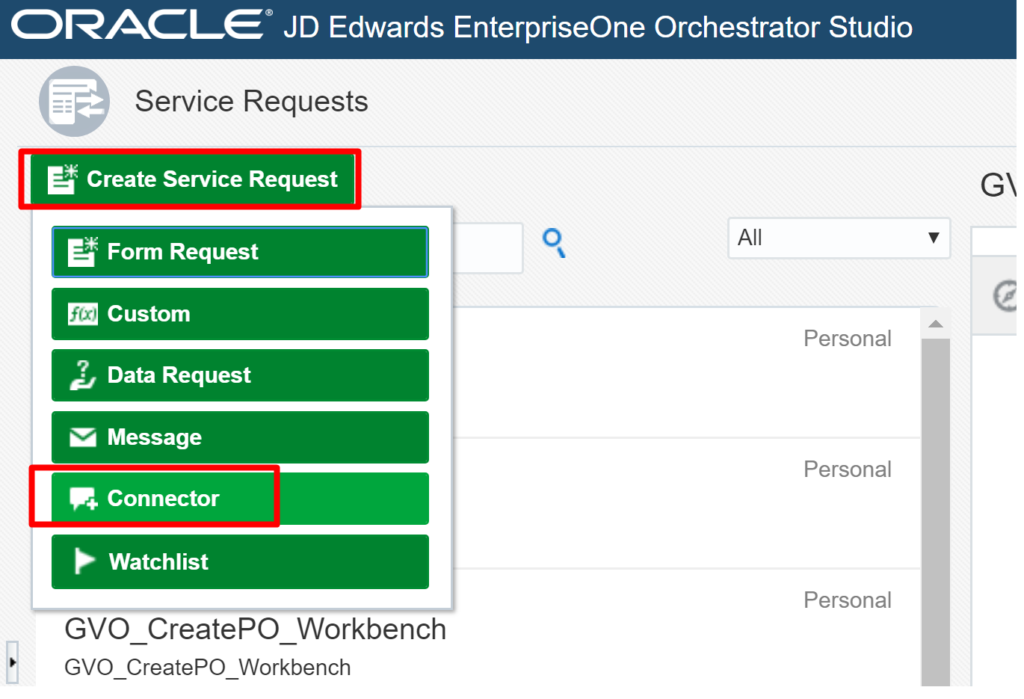
- go back to the Home menu and select “Service Requests”
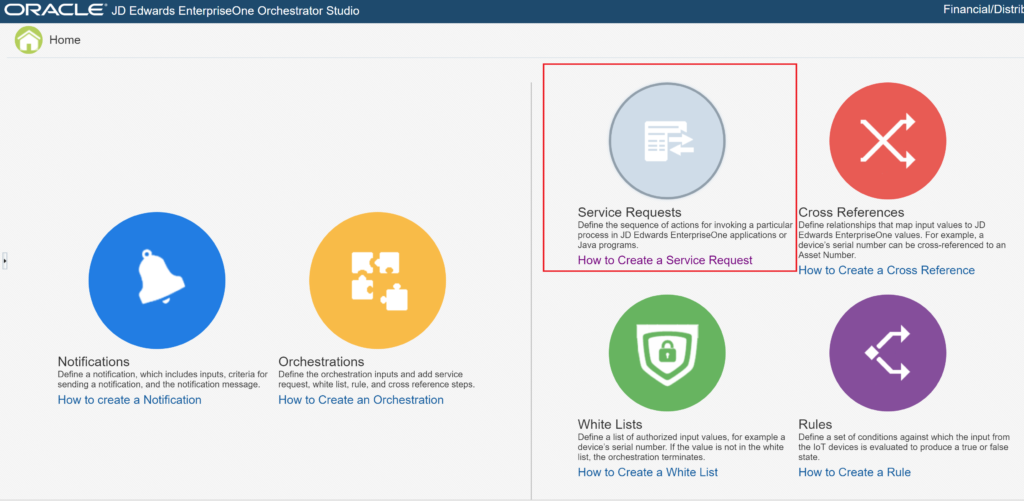
- Create a new Service Request, type Connector:
Design your Service Request:
- pick a name, description and product code
- select your recently created DB connection
- write the Groovy code to read the input variables, run the SQLs statements and assign a value to the output variable(s)
- create your input/output variables
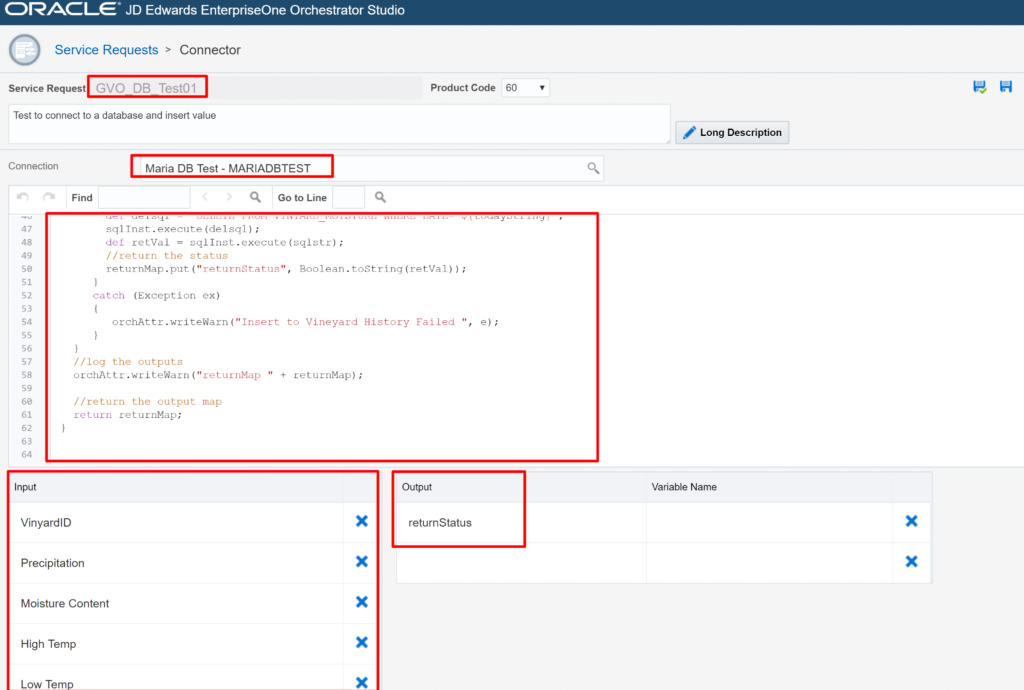
- Save your Service Request
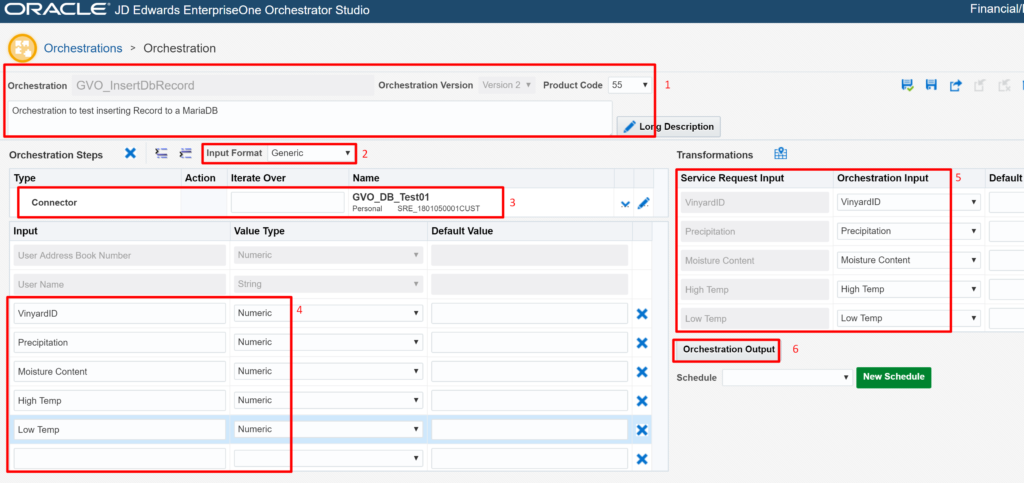
Create an Orchestration
Last step will be to create our orchestration; this is a very simple one to call our Service Request:
- Select the Orchestration component from the menu
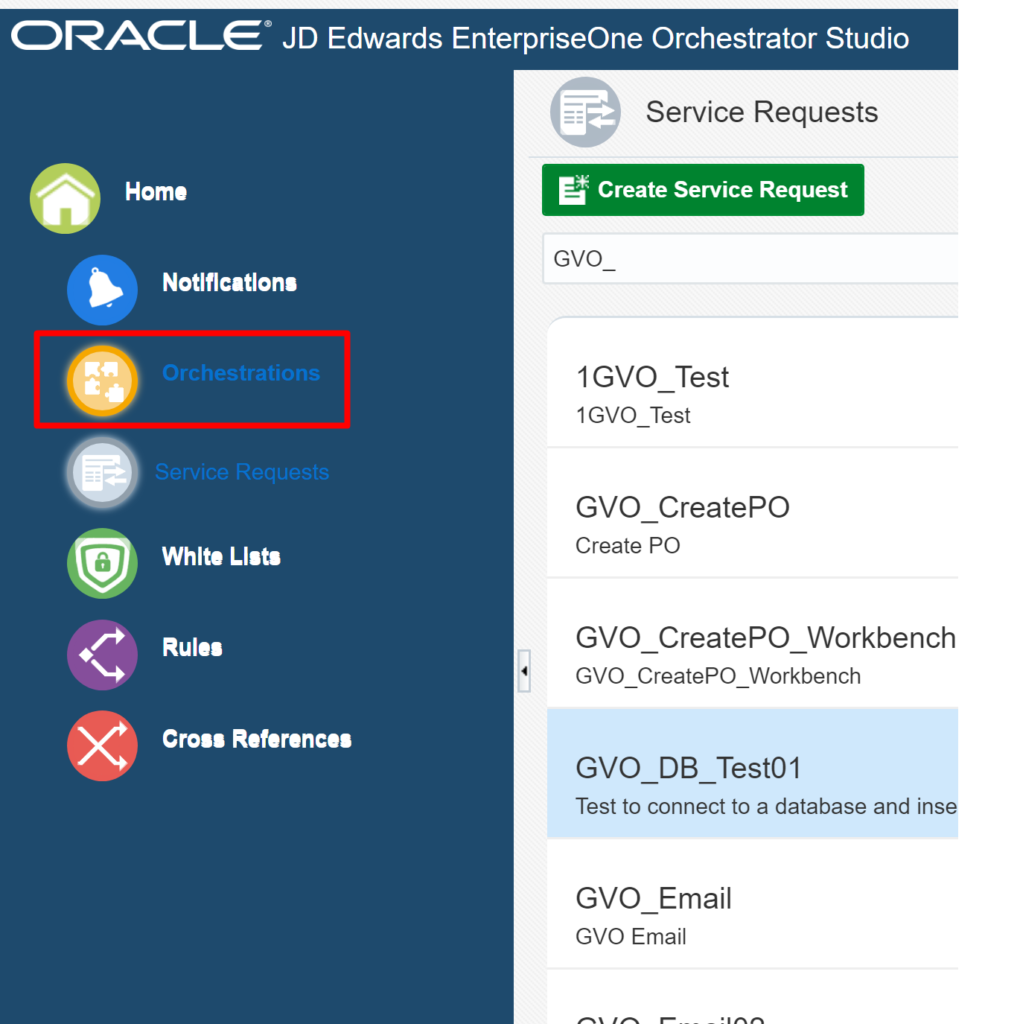
- Create a new Orchestration:
- pick a name, description and product code
- select “Generic” for the Input Format (this is the simplest and standard input format)
- Add a new “Service Request” step and select your recently created Service Request
- create your Orchestration input variables
- Map those variables to the Service Request Variables
- Select “Orchestration Output” to define your output payload and Save your Orchestration

That’s it ! We created an Orchestration which could be triggered by a sensor in the field and store weather info in a database; later on those data could be used in an other orchestration to determine if an irrigation operation is needed.
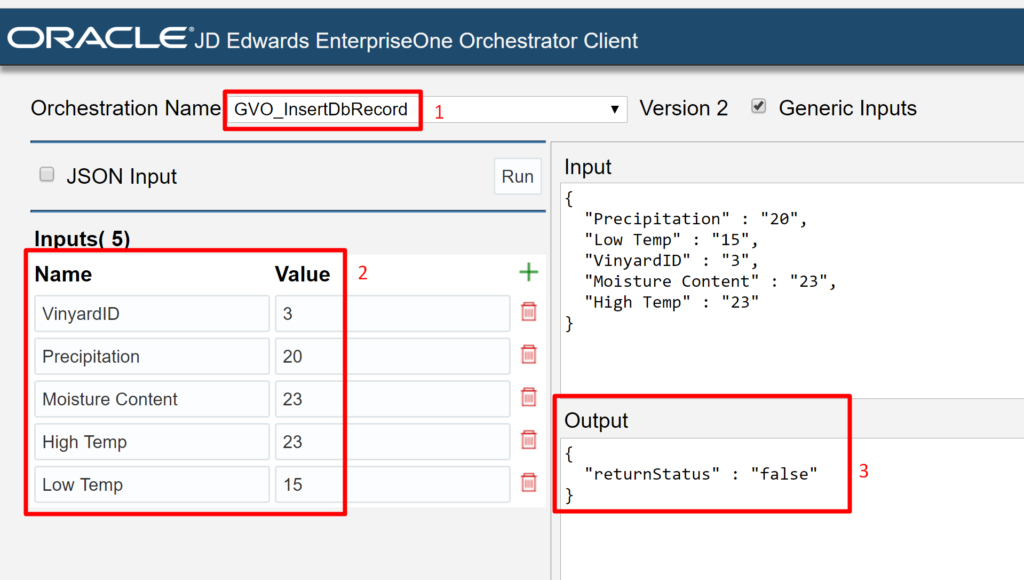
Test our orchestration
Now let’s test this orchestration:
- open the Orchestrator Client : <http:///jderest/client/orchestrator.html>
- load your orchestration, the input variables are automatically provided
- enter some values and trigger the orchestration; if you received “false” this should mean your record was created:
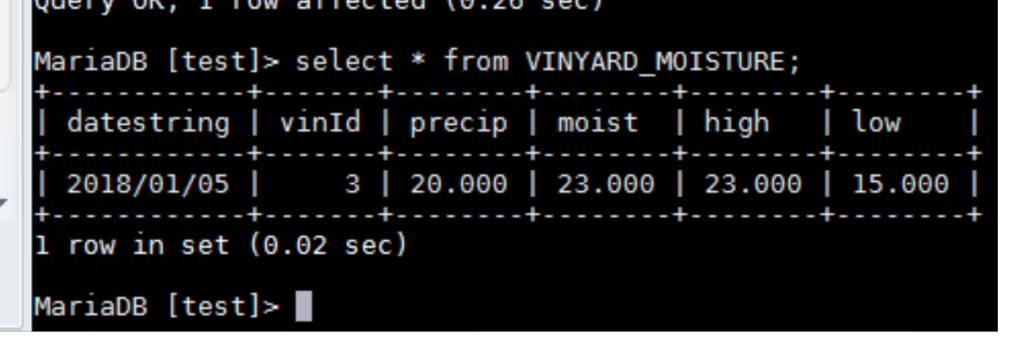
If we check in the database we should find a new record created:
 A few remarks about this orchestration:
- you may need to add the database JDBC driver in the Weblogic running the AIS server (by default weblogic already has Oracle and Mysql JDBC driver installed); check the Weblogic doc if you need to do it.
- I did not paste the Groovy code in this post; you can connect to our Orchestrator Studio if you need it (you can send me an email if you don’t have the URL our credentials)
I hope this could be useful.