
Testing GoldenGate 23c Free with 2 JD Edwards Trial instances
Introduction
After GoldenGate 23c free deployment - see previous post: First Steps with GoldenGate 23c free on OCI - it’s now time to see how we can deploy & configure GoldenGate to synchronize 2 applications.
Being familiar with JD Edwards, I thought it would be easier to test the deployment between 2 JD Edwards instances; for this you first need to deploy 2 separate JD Edwards instances; the best and quickest way to do this on OCI is with the JD Edwards Trial Market Place image. Furthermore, GoldenGate 23c Free being also limited to 20Gb database size, the JD Edwards Trial Edition is a good fit.
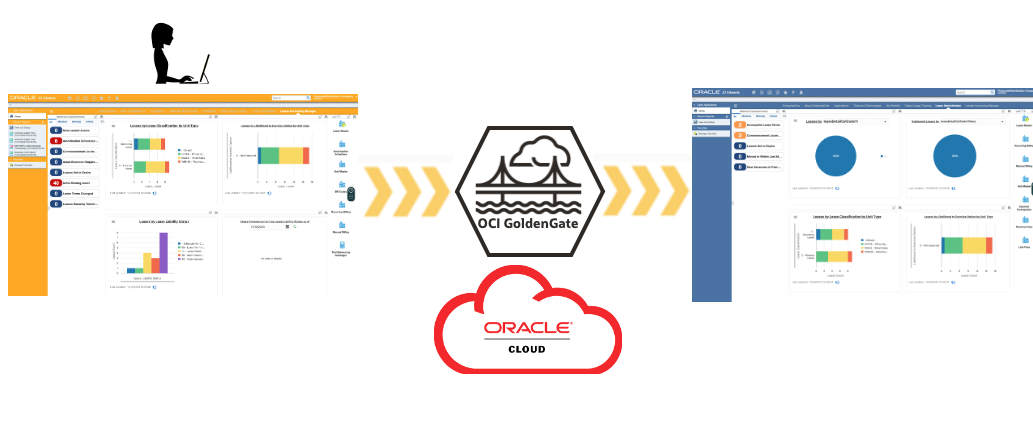
Target Architecture
Our OCI architecture will include:
1 VCN with a public Subnet
2 JD Edwards Trial instances
1 GoldenGate 23c free container instance

Deployment
If you already read some of my previous posts you may know I am a big fan of automation; that’s why we’ll also automate the complete OCI deployment process and then focus on the GoldenGate configuration.
We’ll use Terraform for this. I won’t go into the details of this automation as I reuse some material from the JD Edwards on OCI Workshop: I created some GitLab projects for this workshop 2 years ago - one of the project, lab41-jdetrial-terraform, deploy multiple JD Edwards Trial Edition instances in a single command. This is a good starting point for our objective.
So, for this deployment I created a new branch and added the GoldenGate deployment with a Container Instance; you can checkout the source here with-ogg-23c-free.
Inside the project, the README.md file gives you all the steps and configuration required to deploy the OCI resources - the deployment should only takes 15 to 20 minutes. Reach out to me if you face any issue here.
As a bonus I also added a sql script to automatically apply the required database parameters and goldengate databases users, which will facilitate the GoldenGate configuration in the next step.
GoldenGate Configuration
Once your environment is up and running, you can start configuring GoldenGate.
- Retrieve the Container Instance Public IP from the OCI console
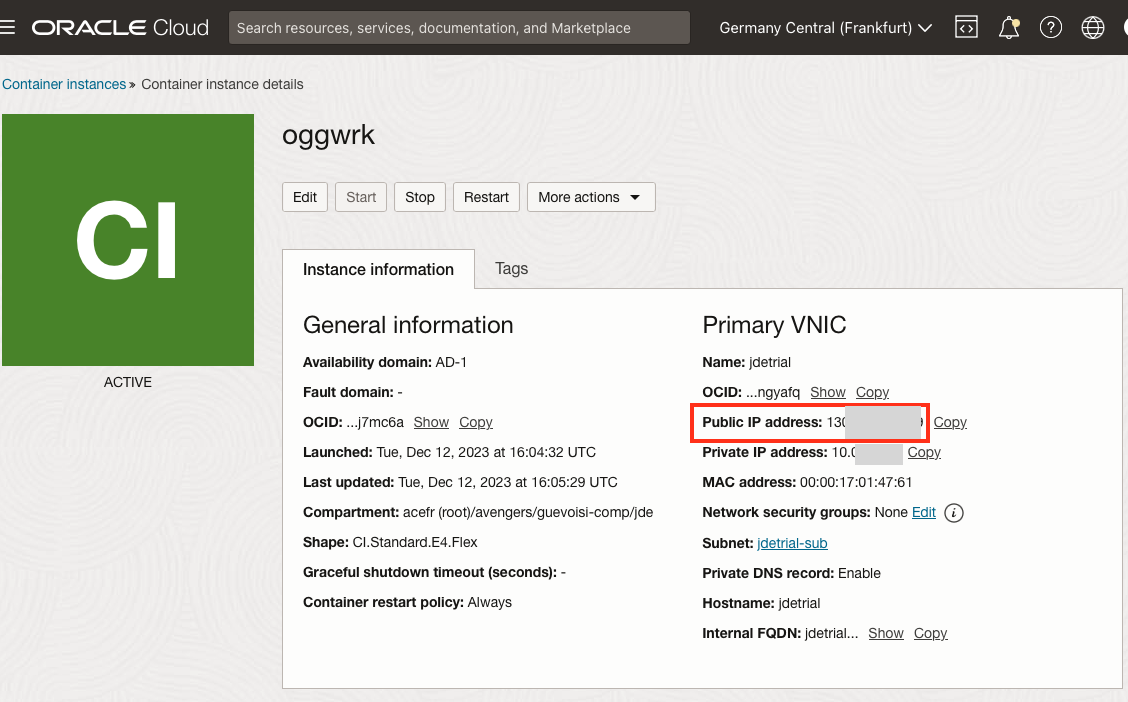
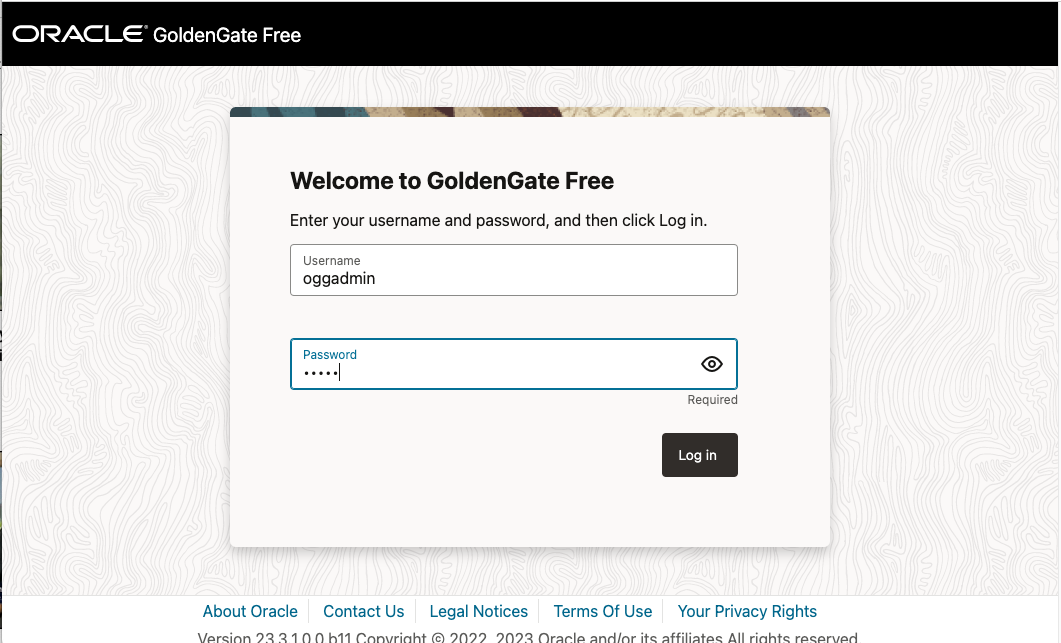
- and connect to the GG console (http://<gg-public-ip/ using the username/password provided during the deployment:
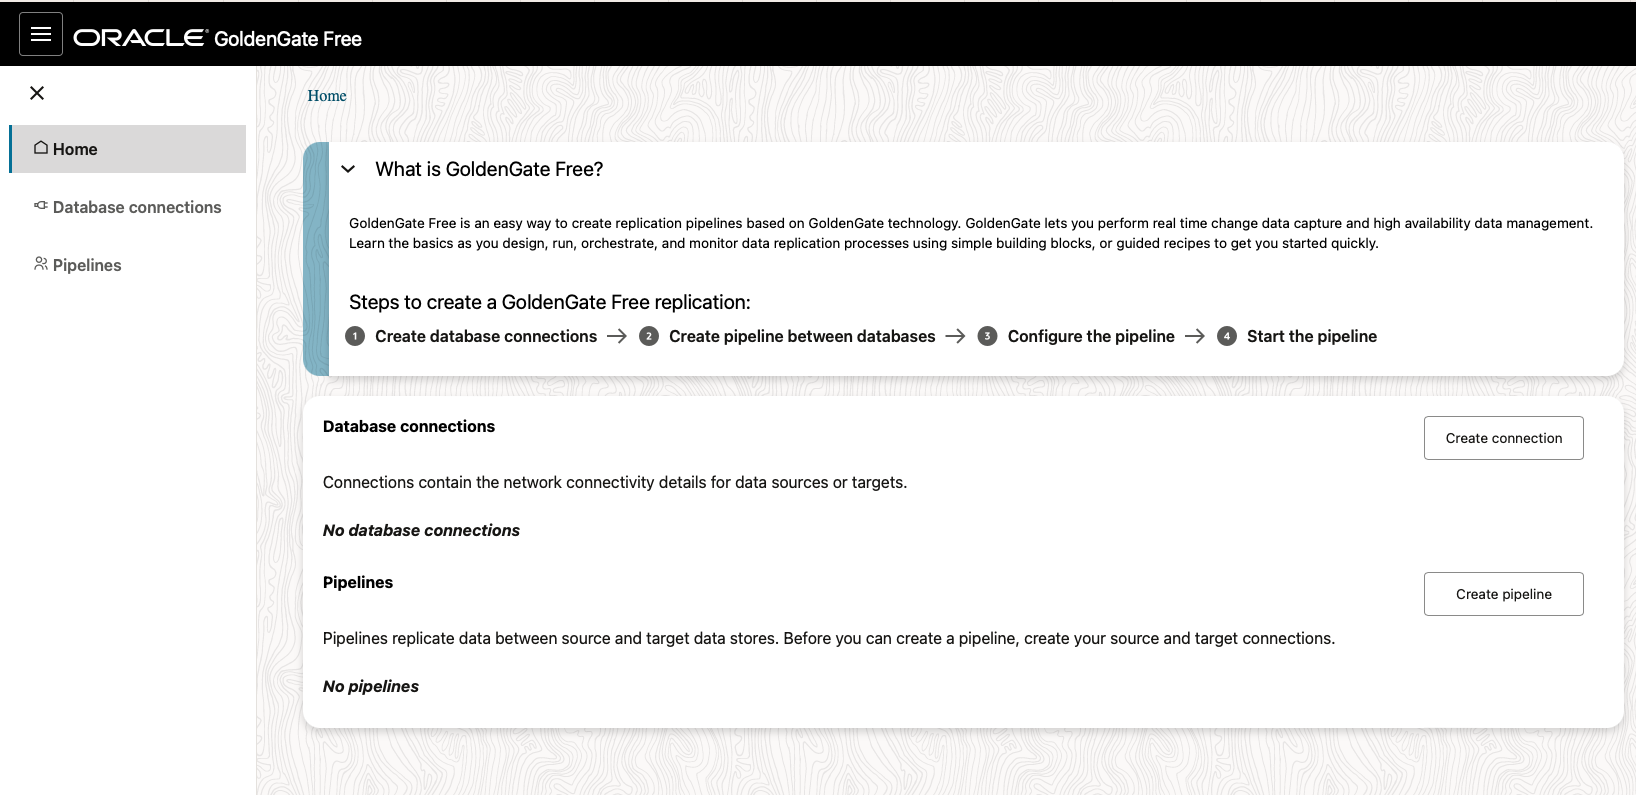
There are 3 main steps to create the GoldenGate replication between the 2 JD Edwards instances:
- create 2 database connections: source and target
- create and configure 1 pipeline between the source and target databases
1. Create the database connections
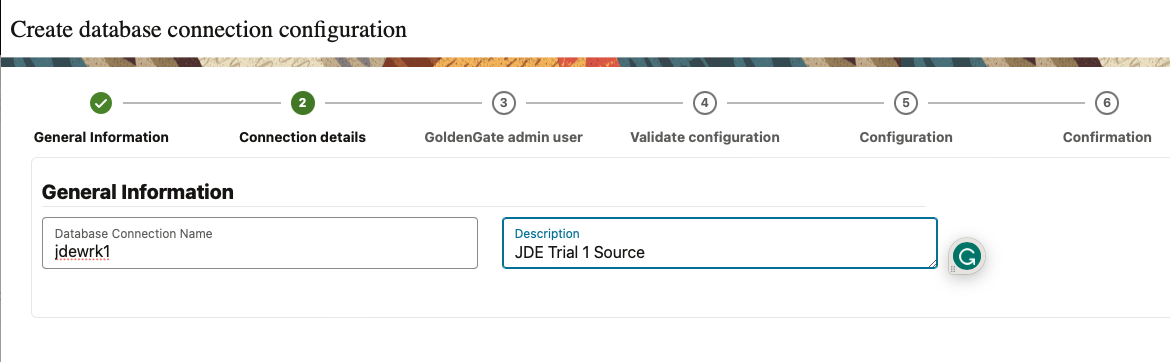
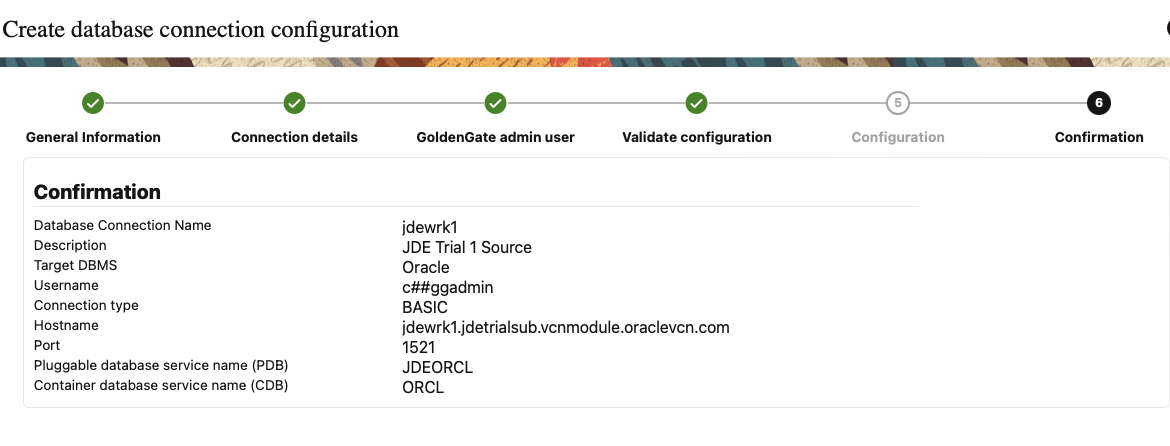
Create the source database connection
- set a name and description for the source database: we use the first instance, jdewrk1 as the source
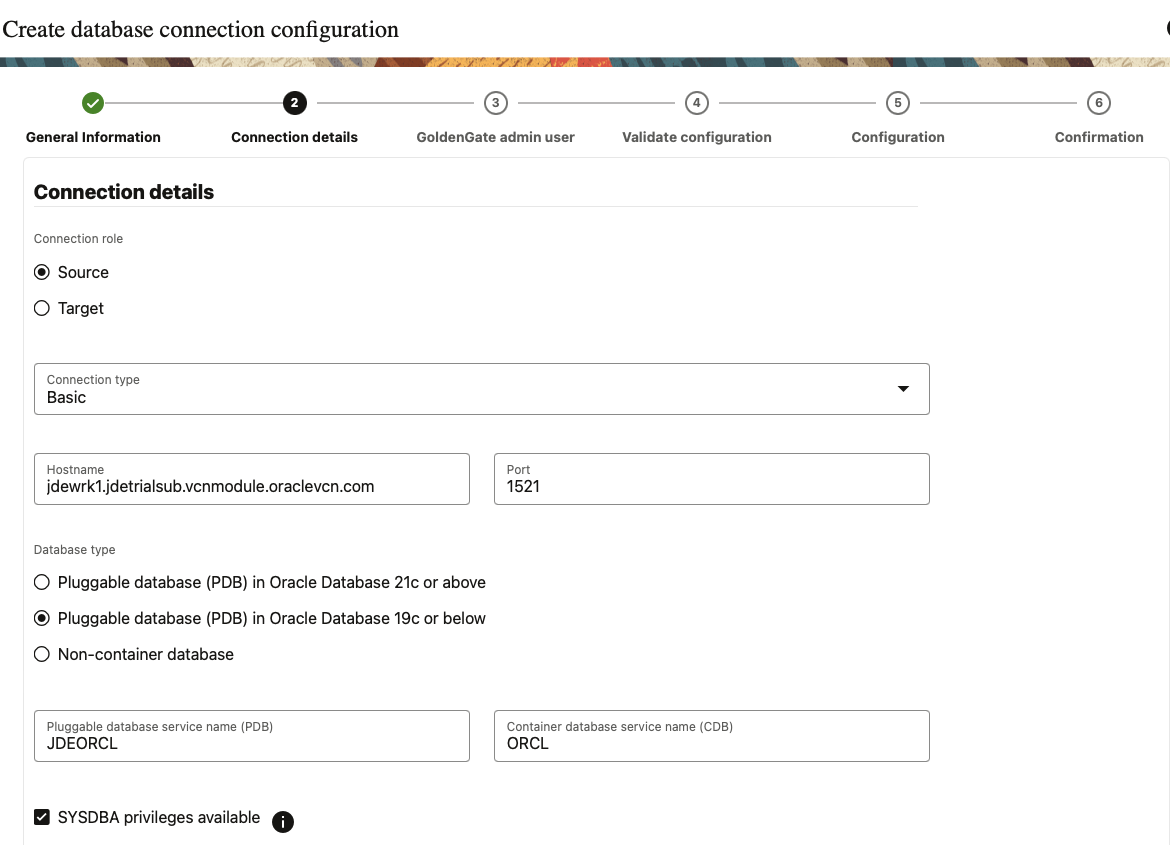
- configure the server hostname, database version and enter SYS account
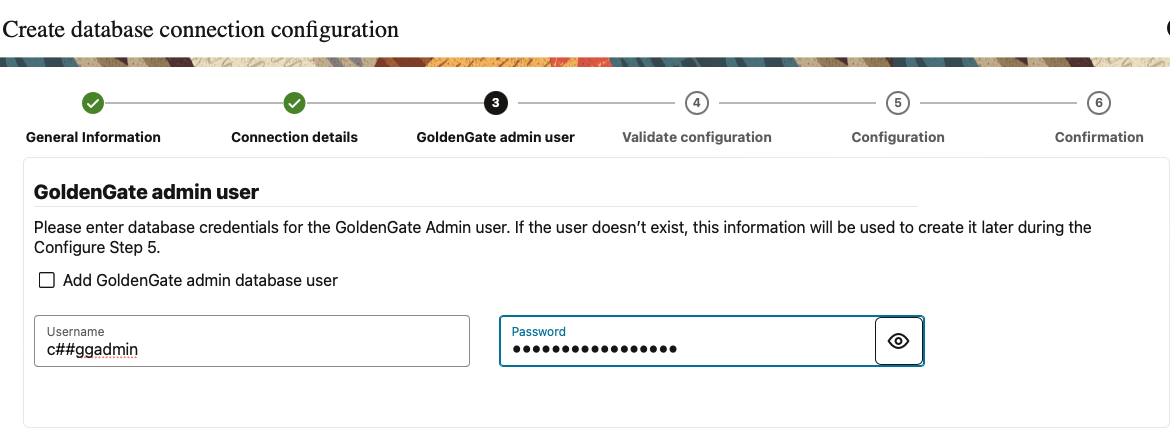
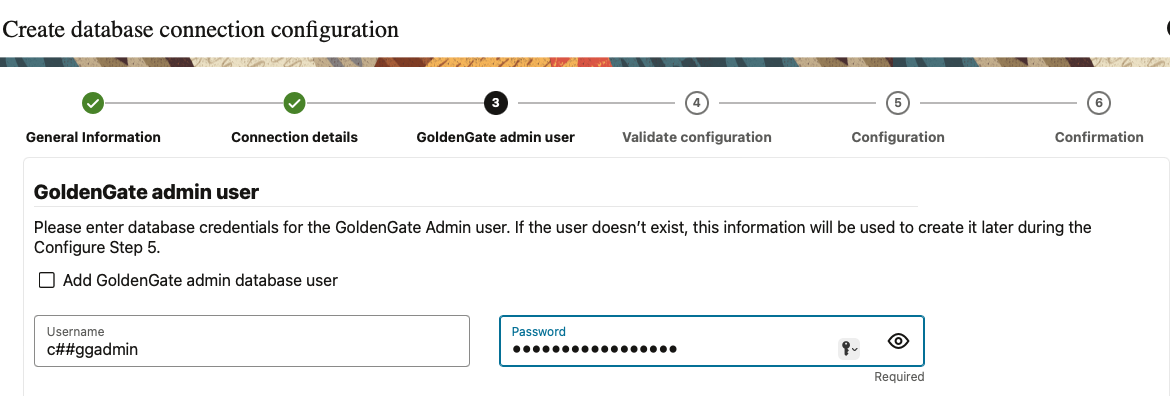
- enter the GoldenGate username: c##ggadmin and password (used in the terraform deployment)
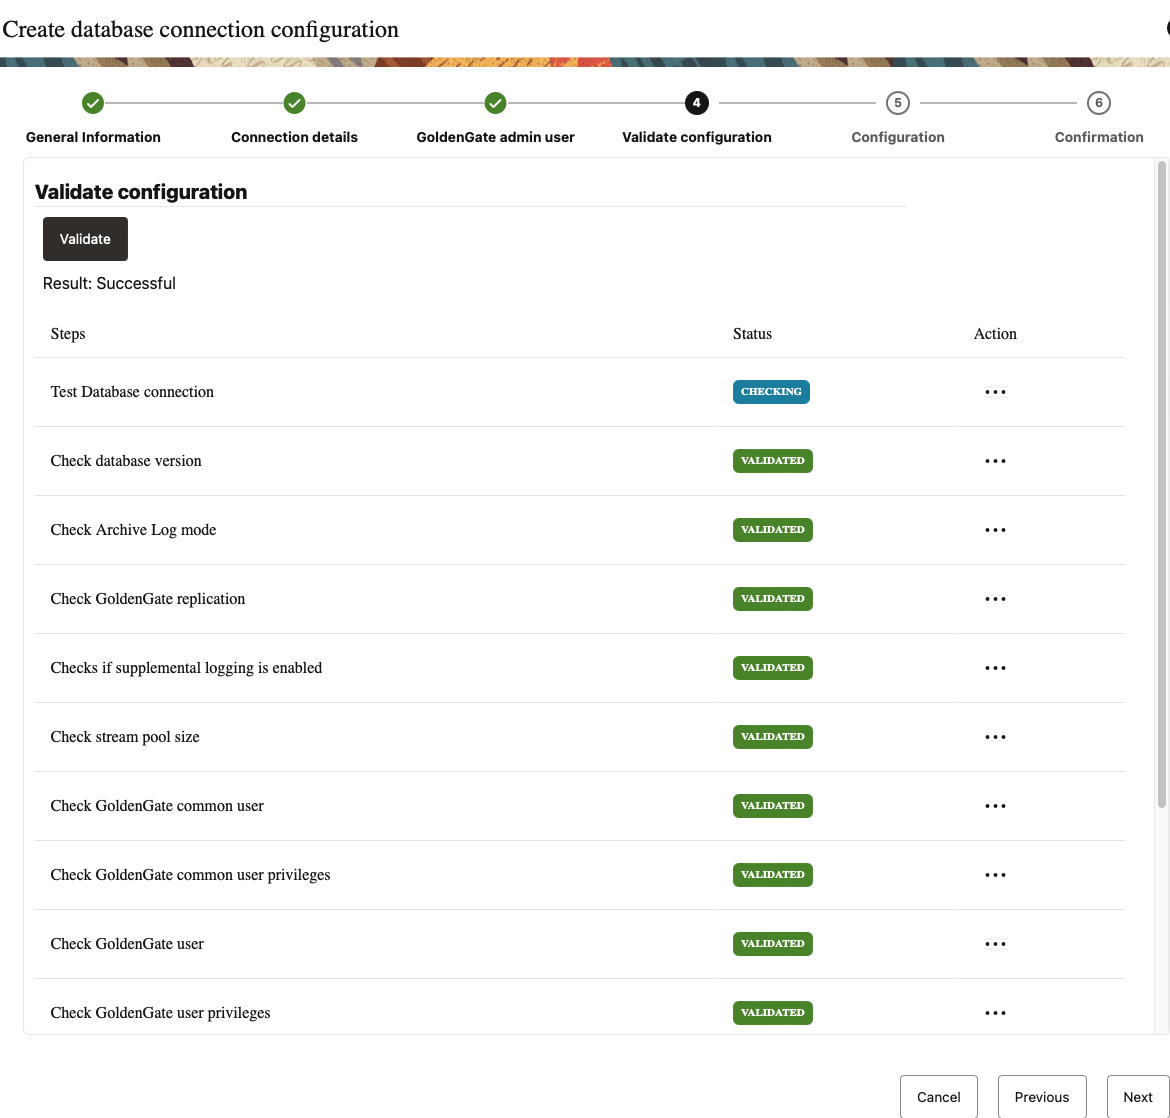
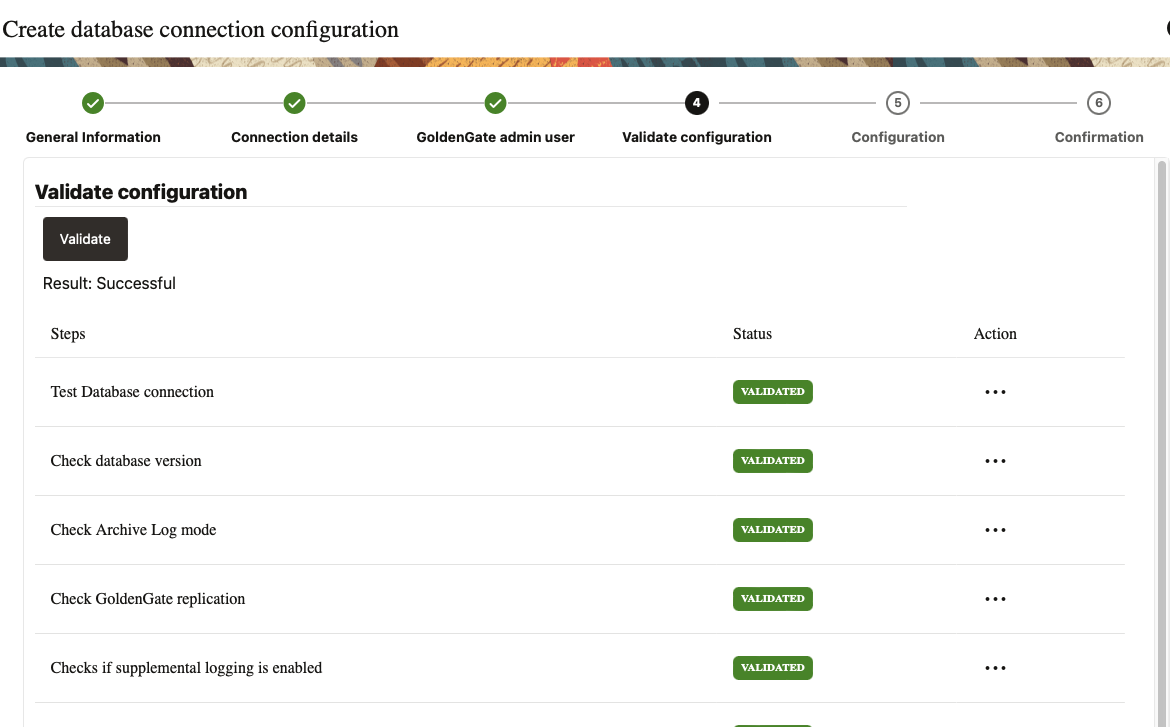
- Click Validate to check the database configuration - as the oggconfig.sql script has been executed during the Terraform deployment, all validation steps should be Green
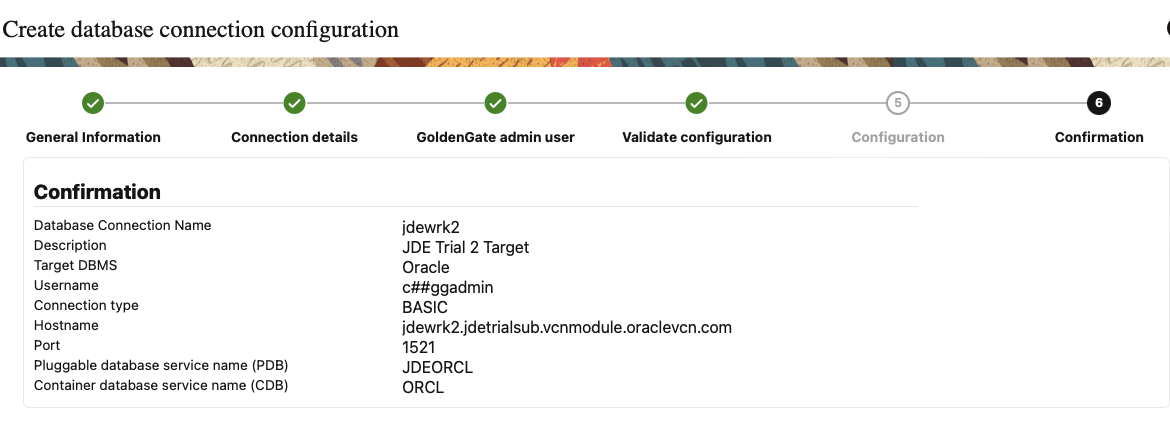
- Review and confirm the configuration then press Create
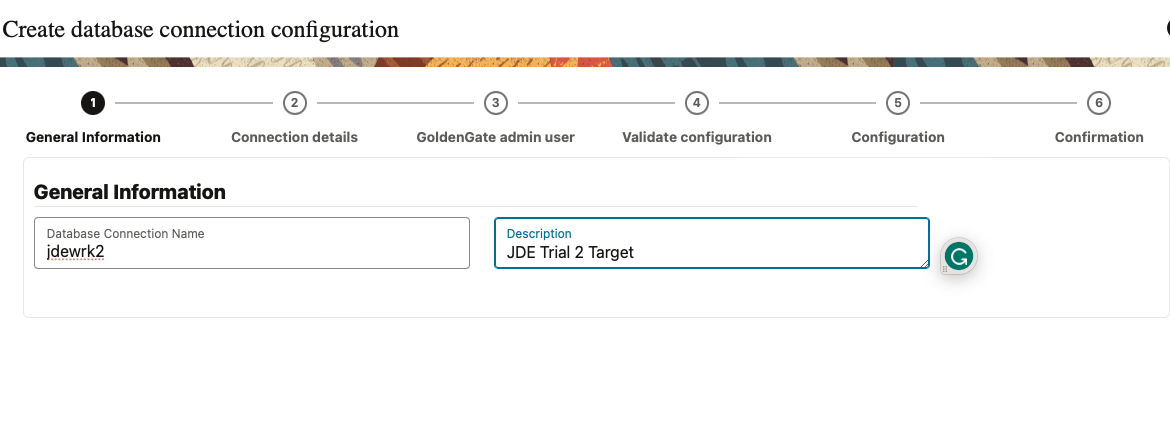
Create the target database connection
- set a name and description for the source database: we use the first instance, jdewrk2 as the source
- configure the server hostname, database version and enter SYS account

- enter the GoldenGate username: c##ggadmin and password (used in the terraform deployment)
- Click Validate to check the database configuration - as the oggconfig.sql script has been executed during the Terraform deployment, all validation steps should also be Green
- Review and confirm the configuration then press Create
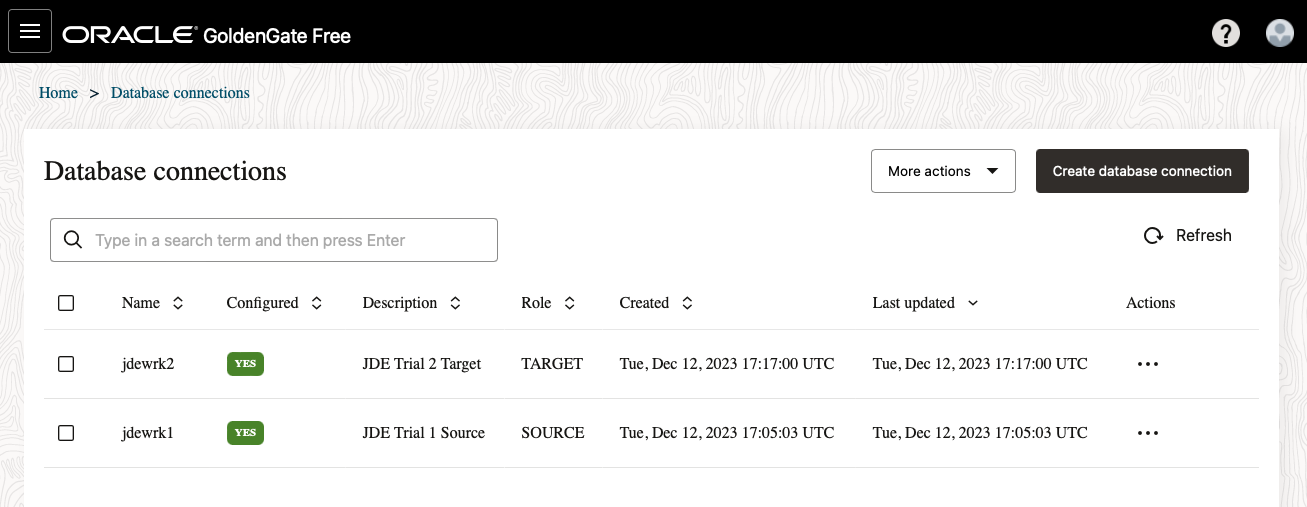
Database Connections
You should have those 2 databases connections configured:
2. Create the pipeline
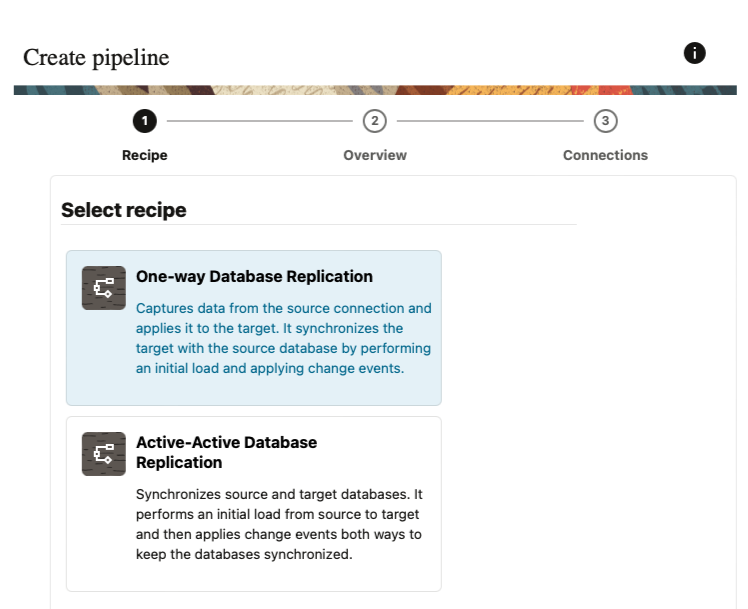
create the pipeline
- Select One-Way Database Replication recipe:
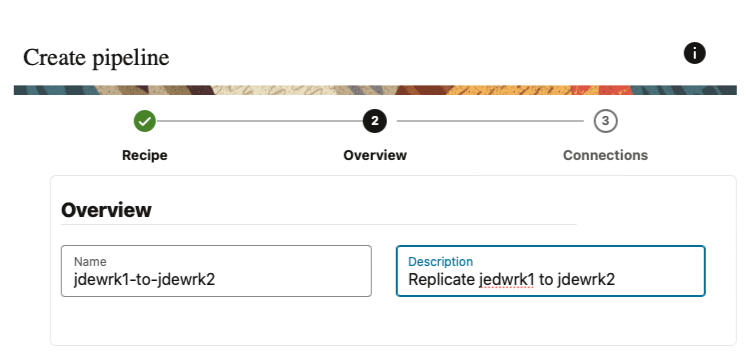
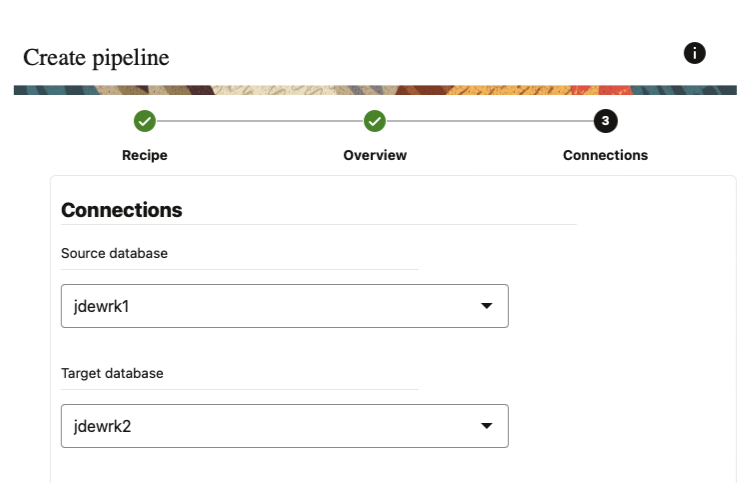
- enter a name and description
- select the source and target databases and enter Save & Configure
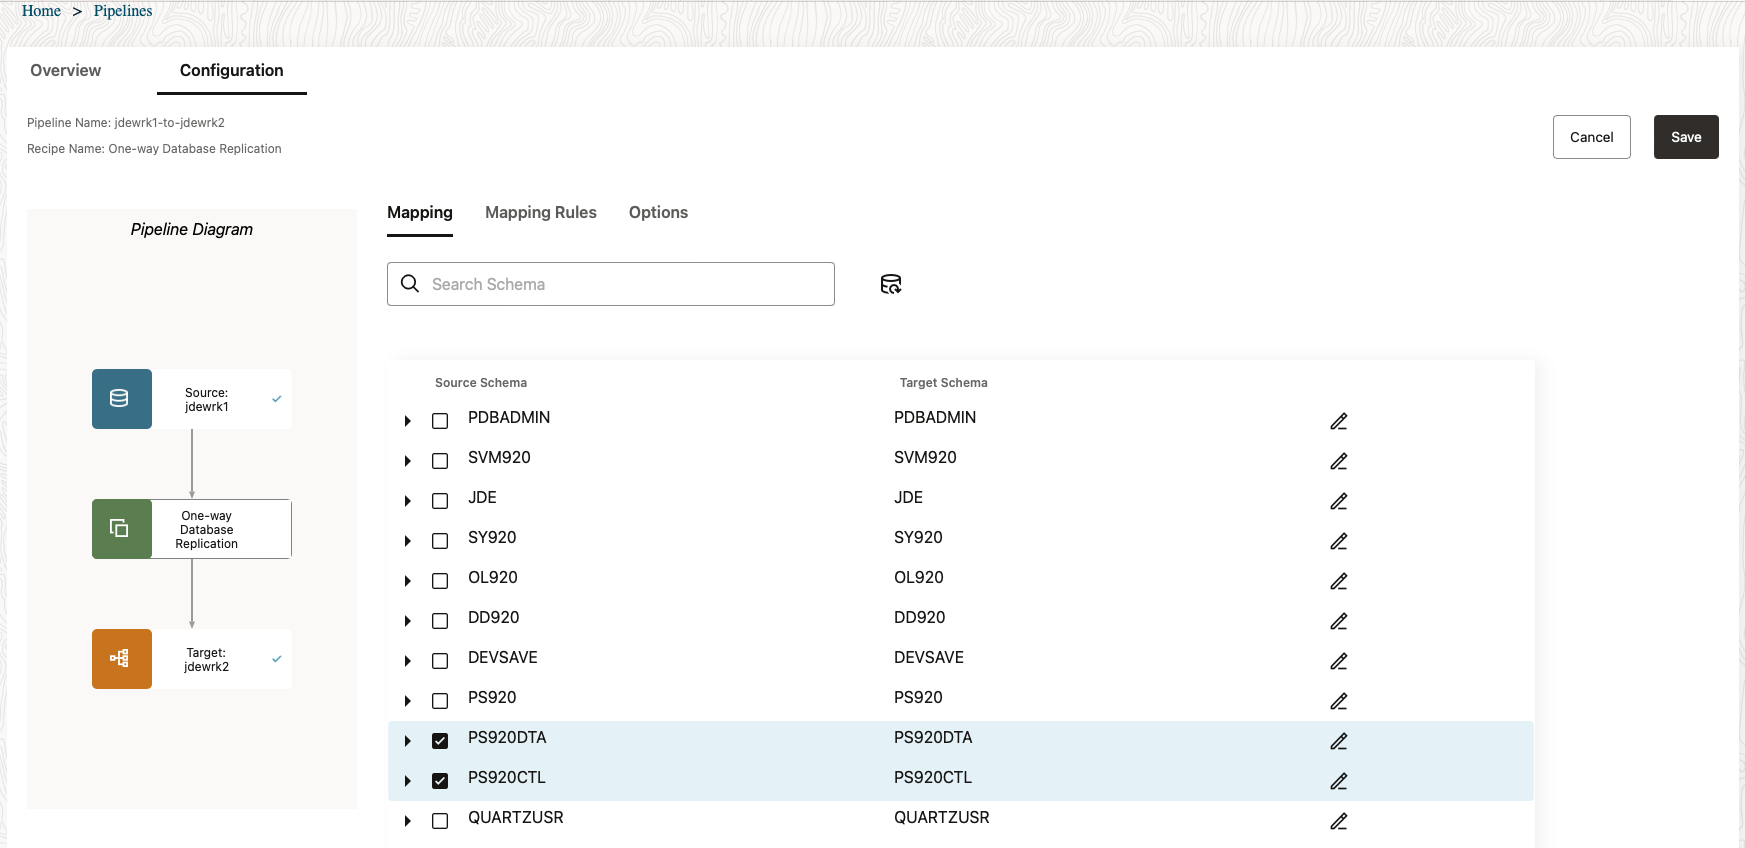
configure and start the pipeline
- Select the schemas source and target (same names); we only choose to replicate JDE Business Data (PS920DTA) and Control Tables (PS920CTL); click Save
- Click Start to trigger the pipeline initialization
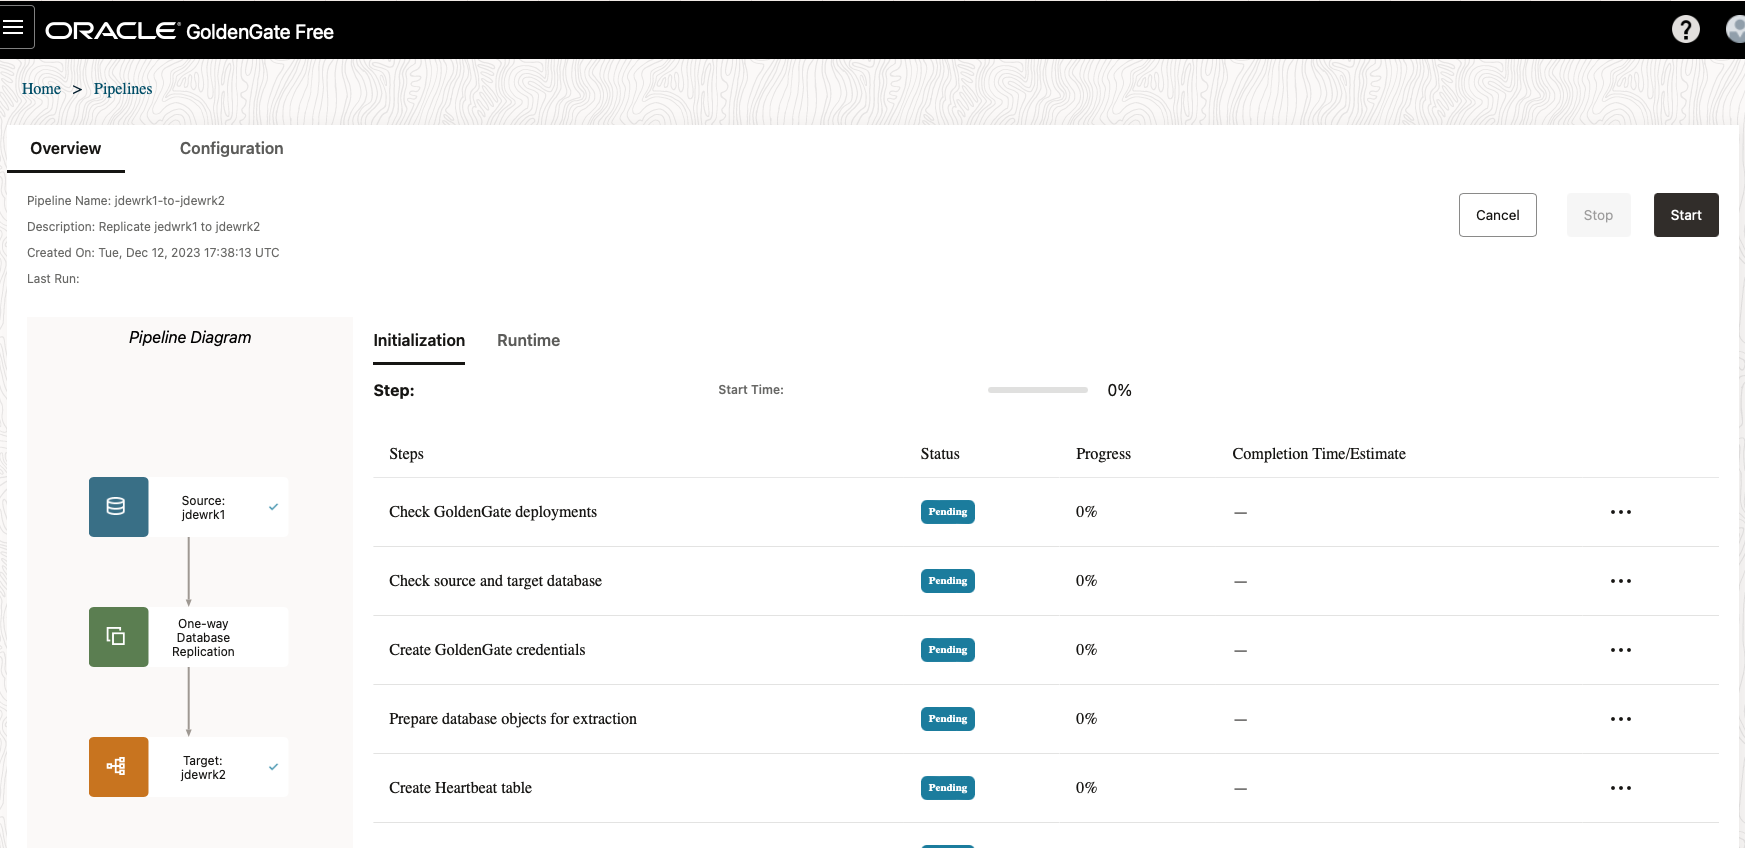
- Monitor the pipeline startup process; the longest step is the Run Initial Load Using Oracle Data Pump
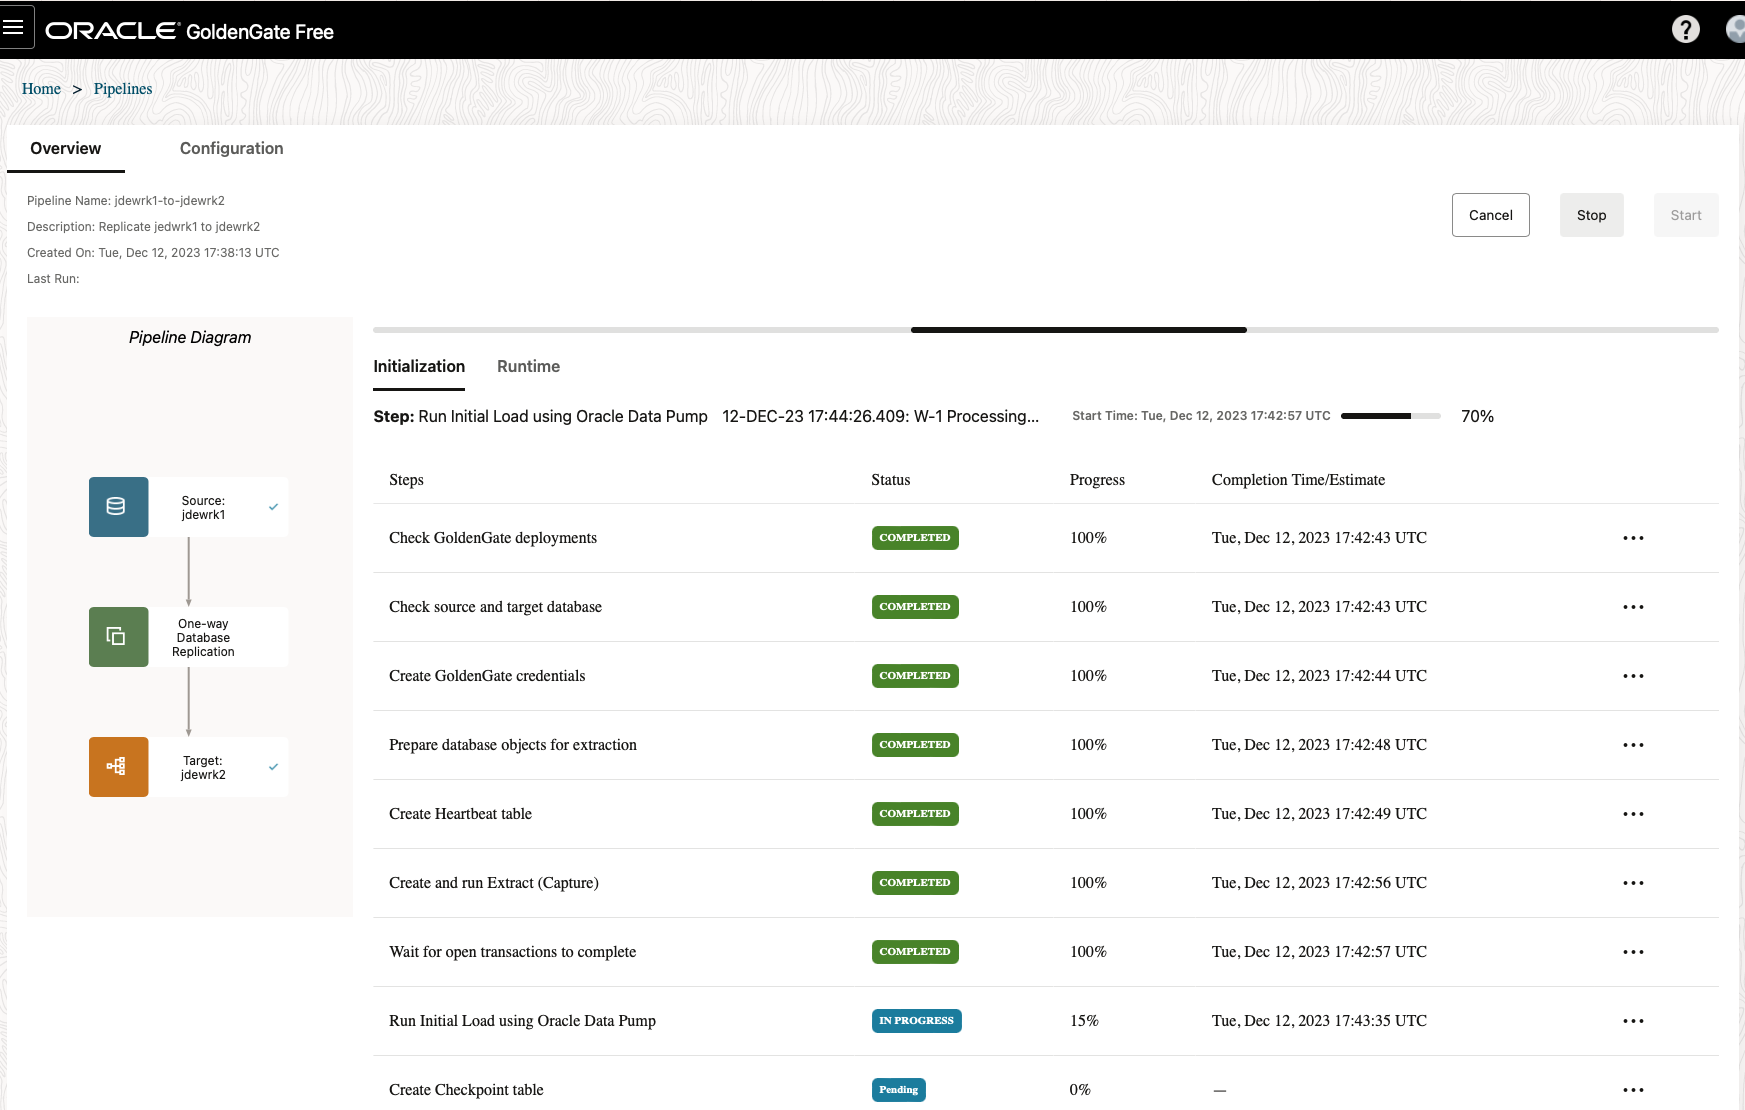
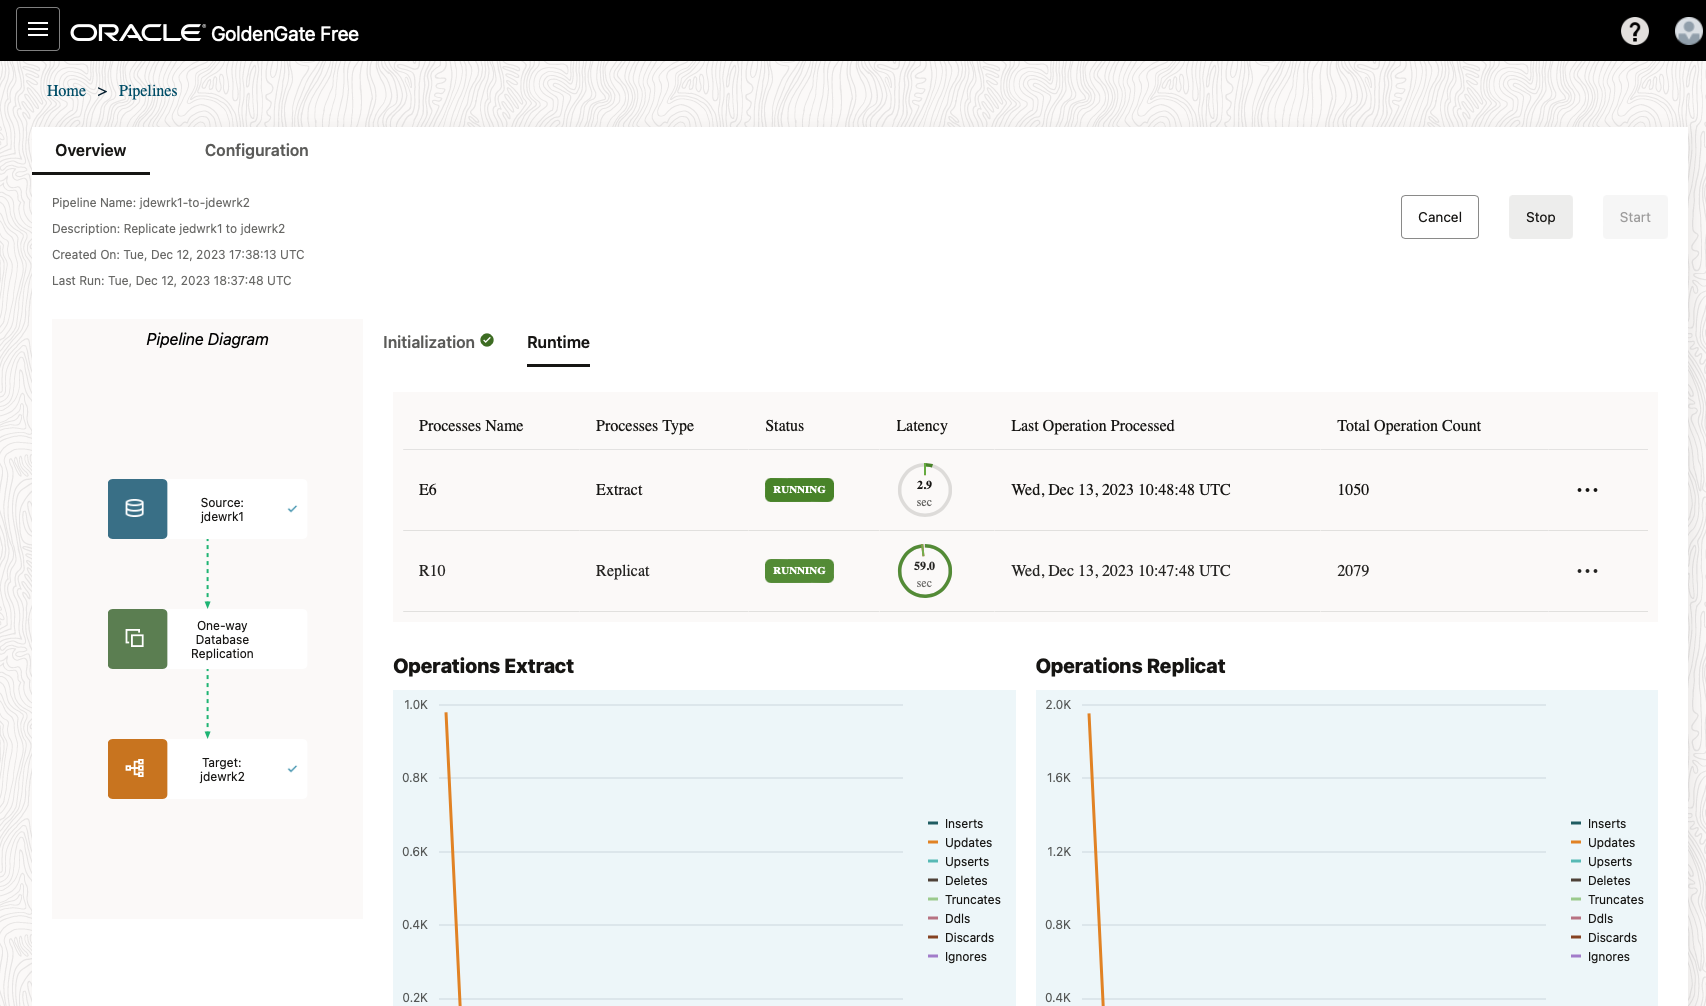
After a few minutes, the replication should be up and running:
Test the replication pipeline
Our JDE synchronization is now up and running. We can test it very quickly by creating a new Address Book record in jdewrk1:
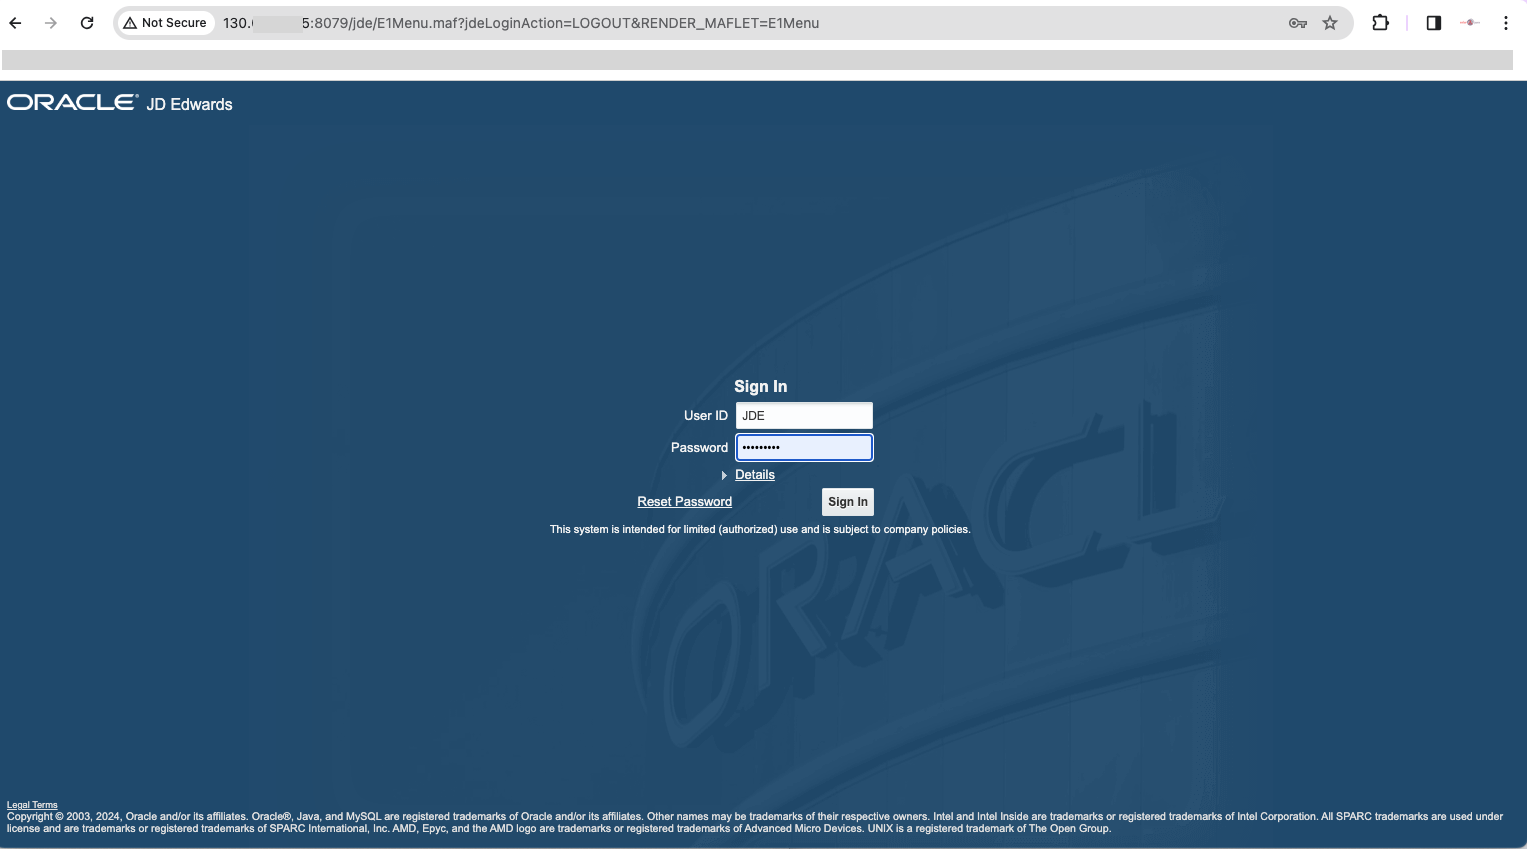
- Connect to jdewrk1 URL (http://<publicip-jdewrk1:8079/jde)
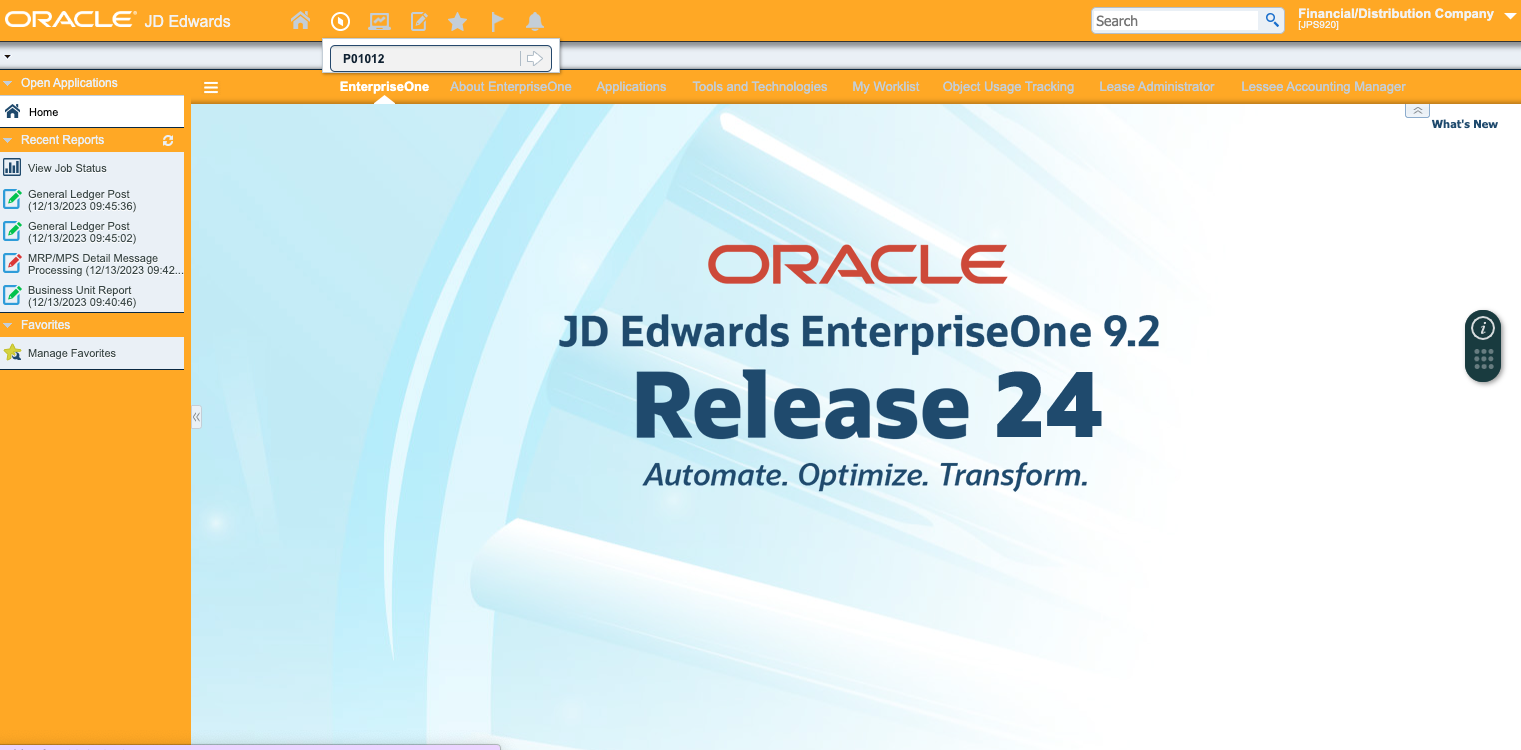
- Open the Address Book application P01012
- Create a new record (60690 for this example)
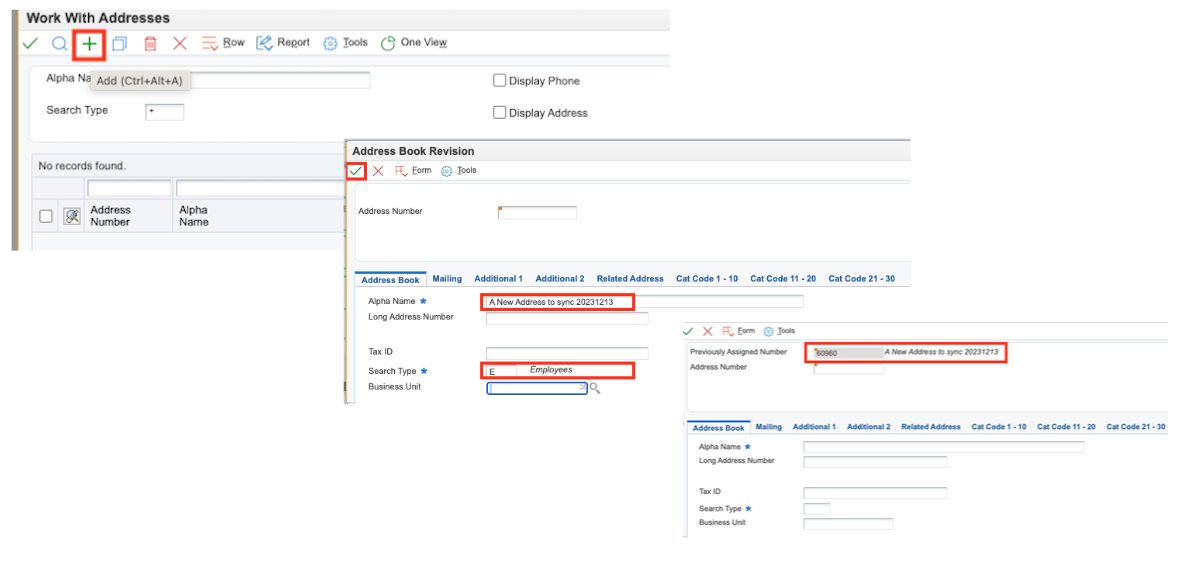
- Connect to jdewrk2 URL (http://<publicip-jdewrk2:8079/jde), open also P01012 and search for 60960:
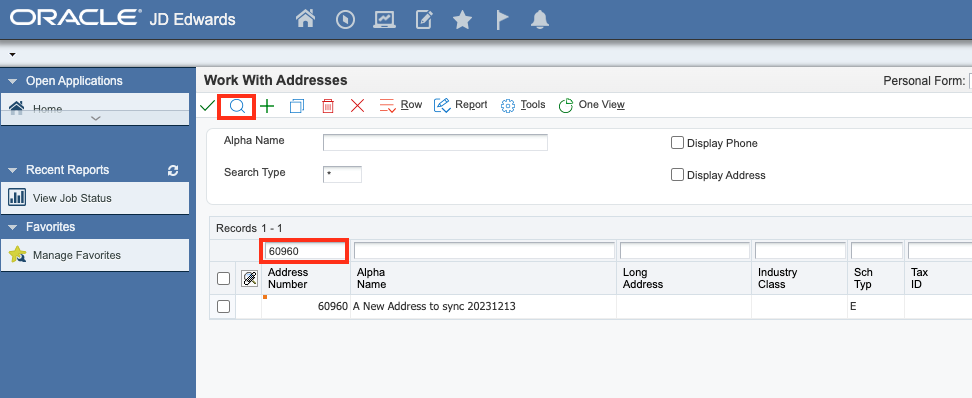
It works! You now have 2 applications replicated in real time!
And the configuration was very easy; in just a few steps and about 15 minutes the GoldenGate replication is up and running in your environment.
Of course, using GoldenGate 23c Free for production is not recommended (database size 20G limite and no support) but it gives you a very quick and effective way to test the product within your environment and then decide to switch to the GoldenGate full version.
To go a bit further, you can check the following resources:
Do not hesitate to reach out if you need more information.
That’s all for today 🎉